

I thought that you might like to see the
process of painting this cupcake piece.
I started out with a line drawing.
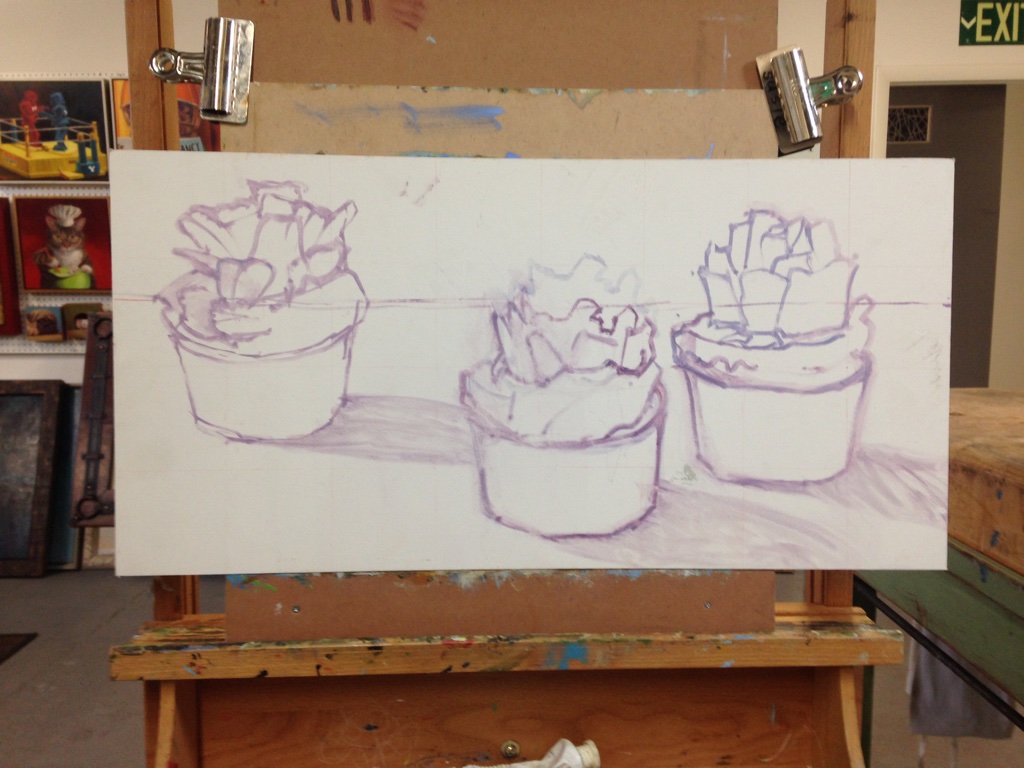
Then I began to paint the background so that I could
get a sense for the value of the cupcakes.

Now, I can start dropping in the cupcake colors.

Next, I'll fill in the cake and papers.

It's time to deepen the shadows and add texture
to the paper.

After painting rich and thick passages on the
cupcakes, the background looks too thin.
So I'll put a second layer on it.

The background color doesn't relate to the palette
of the cupcakes (there's no purple anywhere)
plus, I want more contrast to help the cupcakes pop.
By using my knife (and more paint) I soften the edges
and get the shapes "talking" to each other. Rather than
crisp edges I now have loose edges. I like it better!


